Showing posts with label DIY. Show all posts

Sunday, August 21, 2011

For Tugs

Tugboat and I went for a run every morning last week. It's slowly getting nicer outside in the morning [as well as darker], so our runs are getting quicker. I cave when she sits up at attention at 5:30, waiting to go. "It's only fair," I hear in my head. She's a great dog - she deserved it.

So, she also got her bench pillow recovered today. It was a long, great weekend out on the Lake with friends, but, I still wanted to get something "accomplished." I used the fabric from my old drapes and just used the previous pillow as a form. I got a little creative with the rounded corners in the front too (very simple: on the 90 degree corner, measure 4 inches on each side and sew on the hypotenuse).

Before

After

Sails was a huge help during the process too -- as much of a help as I am when Eric is driving.


Saturday, August 13, 2011

Cleaning Spree

This weekend I plan on doing a clean sweep of the downstairs - go through all the kitchen cabinets, drawers, nooks and crannies in prep for repainting.

Plus, make Eric is homemade [as requested] yellow cake with chocolate frosting and strawberries. Then, spending tonight hanging out with Mike and the gang.

Going to power through until yoga at 11 -- happy weekend all!

Thursday, August 4, 2011

SOLD

The fan is set to sell on Saturday to a nice woman in Concord! I've gotten emails on the table and wine fridge too -- so hopefully I can start clearing out and cleaning up. I've got a big pile for Goodwill piling on my chair.

It was night 1 of Sailor learning to sleep not-on-my-bed. Tugs needs to be less dependent about sleeping on me so I can get a good nights sleep. At a whooping 50lbs she is just getting too big [and too hot in the summer] for sleepovers. She did manage to give me the "It's 5:30am - let's go running now" jump this morning.

Tuesday, August 2, 2011

Over a year and it's time to "re" my downstairs

It's been over a year and I'm already tired of my paint choices. In retrospect, 3 colors was a bit much for a loft, but I loved the green and light yellow and hoped it would all look wonderful. But, it the high ceilings, I think it's more like a fun house now.

So, time to "re." Repaint, remove old stuff, redesign my original plan. There are 2 pieces missing from my downstairs:
  1. Curtains - this will be my next "DIY" project with the sewing machine. My next trip to mary jo's will be a big one. These curtains/rod combo are my inspiration.
  2. New Media Stand - I've been suffering the IKEA one I've had since I moved into my own place and needed one quick, but, it's time to upgrade. In the spirit of "more storage" which is a must when loft living, I've been eyeing a buffet turned TV stand.
Repainting will take the most time to decide on a color -- am planning on hitting up the local Ben Moore this weekend for some samples to paint on the walls to see how they look with the light/space. Definitely going grey though - it will look a lot more subtle with the grey-blue color I have on the stair walls and upstairs.

There is also another little project I'm thinking of for the wall behind the couch, but, I'll save that once I ask my resident handyman if it's "possible." He did say last night that we can try and make the pendant lights I've been eyeing from pottery barn - and I quote, "that would be a fun project." Whoaaaa who!!

Monday, August 1, 2011

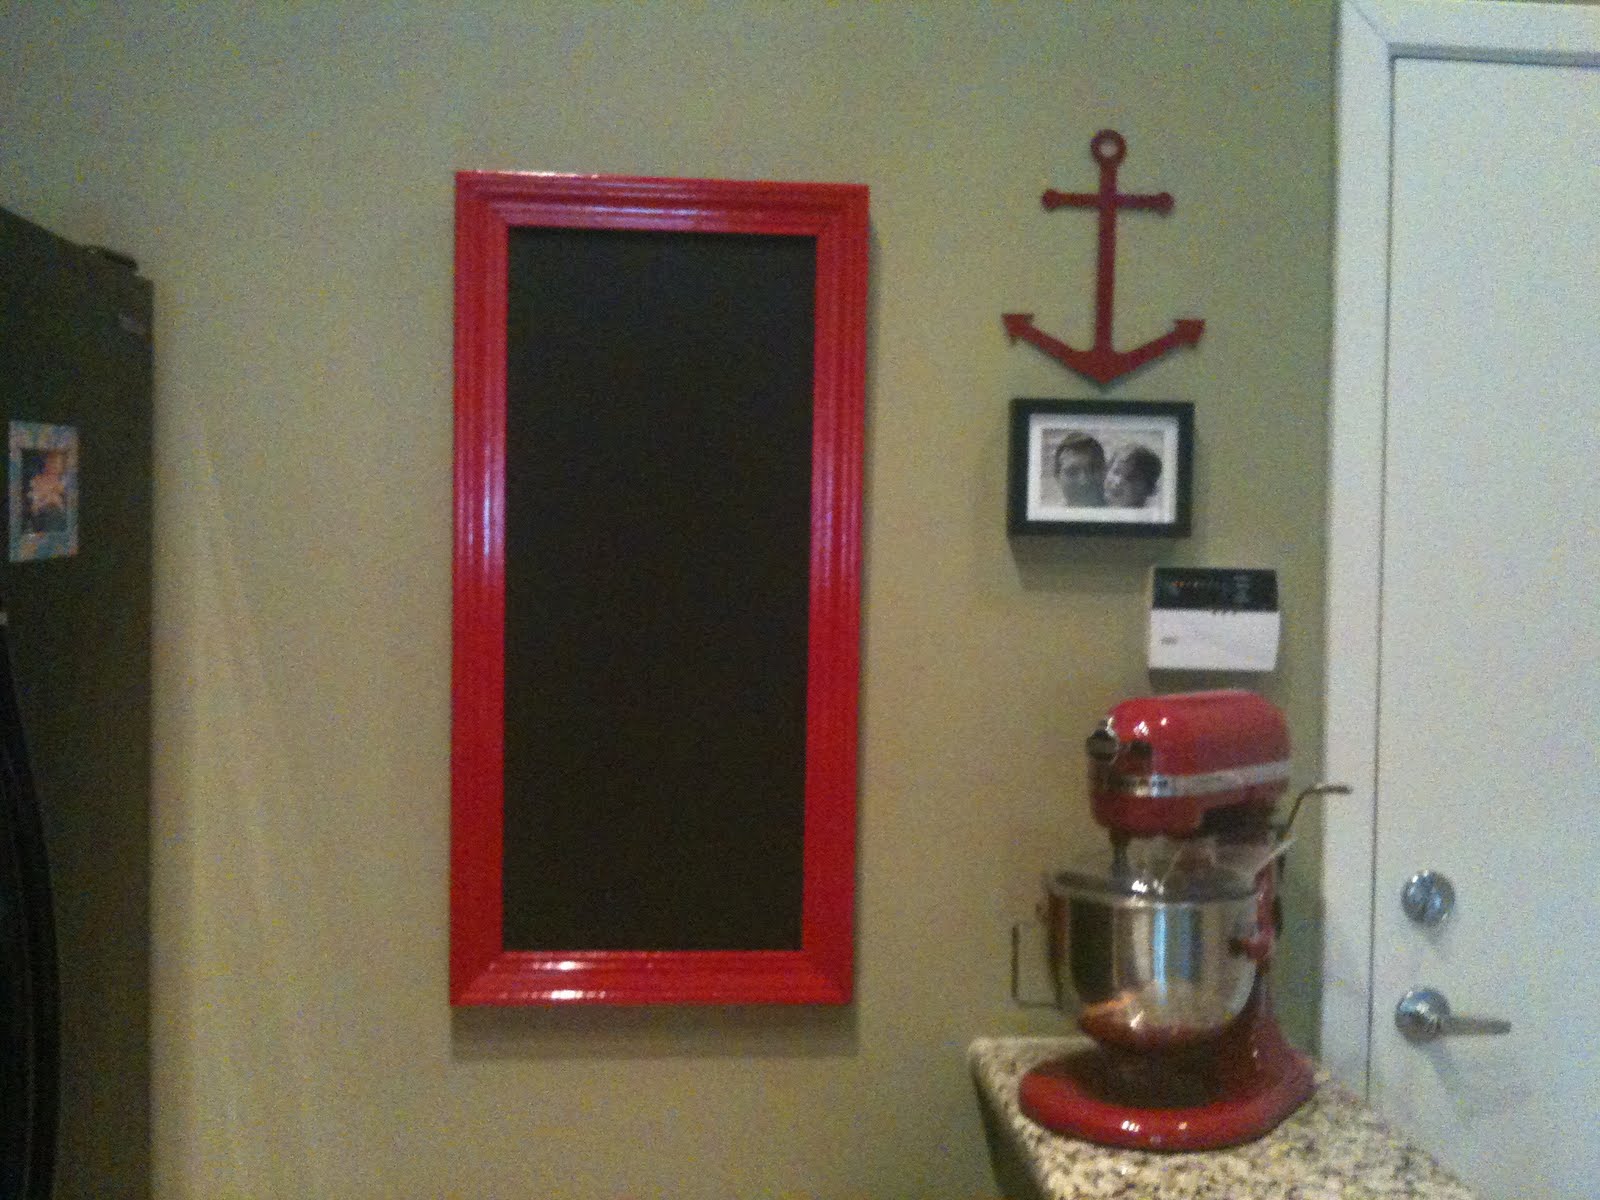
DIY Kitchen Chalkboard

My "throw-away" chalkboard is complete. Big thanks to E for showing me how to use the power tools!


Directions:
  1. Take used door molding and cut to size of plywood. Cut the corners at a 45 degree angle. Use wood filler and fill in holes and sand down as necessary.
  2. Sand down plywood to hang-touch smooth.
  3. Wipe plywood down with a wet cloth and let dry.
  4. Paint the molding with desired color (fire engine red!) - I used 4 coats.
  5. Paint the dry plywood with standard black chalkboard paint (bought from Lowe's). - I used 4 coats.
  6. Let completely dry.
  7. Nail the molding to the plywood from the back. Put nails every couple of inches and make sure they are sturdy/long enough to go through the plywood+molding.
  8. Attach hooks on the back and wire sting 10 inches from the top.
  9. Hang on wall.
Next project - curtains!