E and I had a chat last night where he convinced me that the "remodel" is possible.
Eric: "The light bulb is not earth shattering technology, Em. We can build it. It'll be fun."
Hope.
With those words in mind, I started snapping some photos and listing some downstairs furniture on Craigslist.
Progress.
The Table and Chairs + the Wine Fridge are listed (sorry Liz and Jimmy ... I know it was a present but it sucks energy and living alone I throw the wine in the fridge bc there is ample space ..). Hopefully I'll get some bites. I hope to sell the fan I replaced and the monster TV at Eric's soon too - aka, extra cash for my "war chest."
This weekend I'm determined to make progress on the refurbing of the chair at the Ranch. I'll make sure to take pictures.
Wednesday, August 3, 2011

Tuesday, August 2, 2011
Over a year and it's time to "re" my downstairs
It's been over a year and I'm already tired of my paint choices. In retrospect, 3 colors was a bit much for a loft, but I loved the green and light yellow and hoped it would all look wonderful. But, it the high ceilings, I think it's more like a fun house now.
So, time to "re." Repaint, remove old stuff, redesign my original plan. There are 2 pieces missing from my downstairs:
There is also another little project I'm thinking of for the wall behind the couch, but, I'll save that once I ask my resident handyman if it's "possible." He did say last night that we can try and make the pendant lights I've been eyeing from pottery barn - and I quote, "that would be a fun project." Whoaaaa who!!
So, time to "re." Repaint, remove old stuff, redesign my original plan. There are 2 pieces missing from my downstairs:
- Curtains - this will be my next "DIY" project with the sewing machine. My next trip to mary jo's will be a big one. These curtains/rod combo are my inspiration.
- New Media Stand - I've been suffering the IKEA one I've had since I moved into my own place and needed one quick, but, it's time to upgrade. In the spirit of "more storage" which is a must when loft living, I've been eyeing a buffet turned TV stand.
There is also another little project I'm thinking of for the wall behind the couch, but, I'll save that once I ask my resident handyman if it's "possible." He did say last night that we can try and make the pendant lights I've been eyeing from pottery barn - and I quote, "that would be a fun project." Whoaaaa who!!
Monday, August 1, 2011
DIY Kitchen Chalkboard
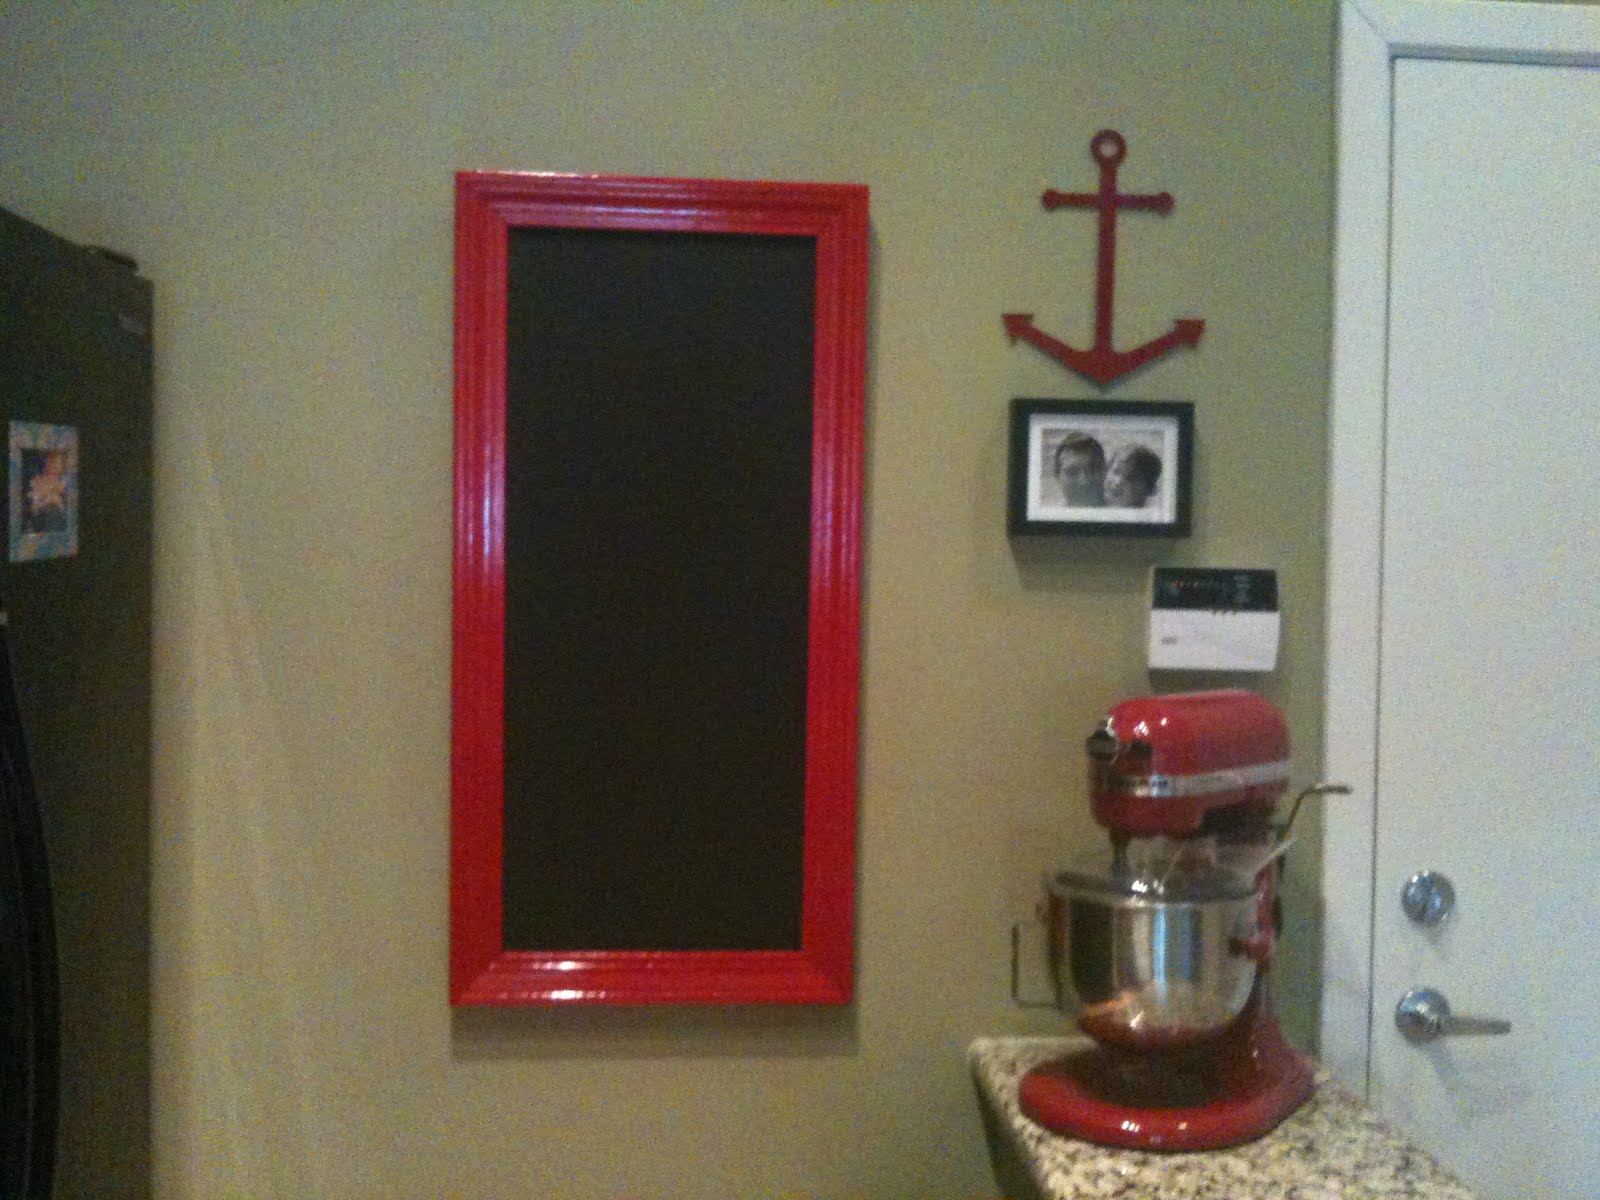
My "throw-away" chalkboard is complete. Big thanks to E for showing me how to use the power tools!

Directions:
Directions:
- Take used door molding and cut to size of plywood. Cut the corners at a 45 degree angle. Use wood filler and fill in holes and sand down as necessary.
- Sand down plywood to hang-touch smooth.
- Wipe plywood down with a wet cloth and let dry.
- Paint the molding with desired color (fire engine red!) - I used 4 coats.
- Paint the dry plywood with standard black chalkboard paint (bought from Lowe's). - I used 4 coats.
- Let completely dry.
- Nail the molding to the plywood from the back. Put nails every couple of inches and make sure they are sturdy/long enough to go through the plywood+molding.
- Attach hooks on the back and wire sting 10 inches from the top.
- Hang on wall.
Monday, July 25, 2011
Hot Hot Hot
Summer will be gone before we know it and we'll be right on our way to complaining about the cold. Eric, Sails and I have been adventuring out as much as possible between swimming at the Ranch, venturing out to hike, and gardening the 8+ foot tomato plants.


Looking forward to getting back out on the Lake mid August and all the birthday's coming up!


Looking forward to getting back out on the Lake mid August and all the birthday's coming up!
Wednesday, July 6, 2011


Tuesday, June 28, 2011
Hiatus Complete
Was a nice little break from the blog and the overall internet. Have completed/started a ton in the last couple of weeks. The garden is in full swing and producing some yummy cucumbers already. The green and banana peppers as well as tomatoes are green and fresh. We installed a drip hose too - helps conserve water and waters directly on the plants. Another great Eric idea.

The second end table is complete [finally]. Also the cute chalkboard for my kitchen is in the final stages -- pictures to come! I'm making all the use I can out of the scraps at the Ranch :) Not to forget the great help from Momma Frank - my first dress is complete too! A rather simple project with her sage help via Skype on a Saturday. 9 Billion awesome points to my mom.
This weekend is jam packed with a visit from my best best friend, an engagement party for Brad and Wen, and boating on Lake Norman with a gaggle of friends.

The second end table is complete [finally]. Also the cute chalkboard for my kitchen is in the final stages -- pictures to come! I'm making all the use I can out of the scraps at the Ranch :) Not to forget the great help from Momma Frank - my first dress is complete too! A rather simple project with her sage help via Skype on a Saturday. 9 Billion awesome points to my mom.
This weekend is jam packed with a visit from my best best friend, an engagement party for Brad and Wen, and boating on Lake Norman with a gaggle of friends.
Thursday, June 2, 2011
The How-To Post
End table 1 is complete! Thanks to a nice trade from Wen to Molls to me ... I inherited 2 end tables and have been pondering what to do with them.
Steps:
- Sand everything - I used a small electric sander on most of it and got the small spaces with paper.
- Wipe off the excess dust/debris with a wet rag.
- Paint twice - I used standard wall paint (look fimilar? It's the color of the kitchen at the ranch!). Make sure to wait for it to dry before the second coat.
- Distress with course sandpaper - I used the sandpaper E had sitting around the garage that were for his "power sander." I went over the outside of the top, the outside of the drawer area, and the legs with the sandpaper flat and sporadically used the edges for more distinct marks.
- Seal twice - Make sure to let the first coat completely dry before putting the second on.


Front area at the Ranch. We put the extra peppers and tomatoes we had into big pots (on sale at Lowes) and keep them next to the rain barrel. The gardenias in the back right corner I trimmed back 2 weekends ago and are in bloom now (and smell great!).


Subscribe to:
Posts (Atom)